Knowing how to install grab bars properly can make all the difference between a helpful aid and a potential hazard. Imagine a simple yet transformative addition to your home that can enhance safety and provide peace of mind for you and your loved ones, especially seniors. Whether you’re planning for aging in place, accommodating a senior family member with mobility challenges, or simply upgrading your home’s safety features, mastering this skill is crucial. In this guide, we’ll walk you through the essential steps and tips to ensure your grab bars are securely and effectively installed, making your home safer for everyone. Let’s dive in and make safety a priority!
Contents
How to Install Grab Bars Properly: Ensuring Safety and Stability
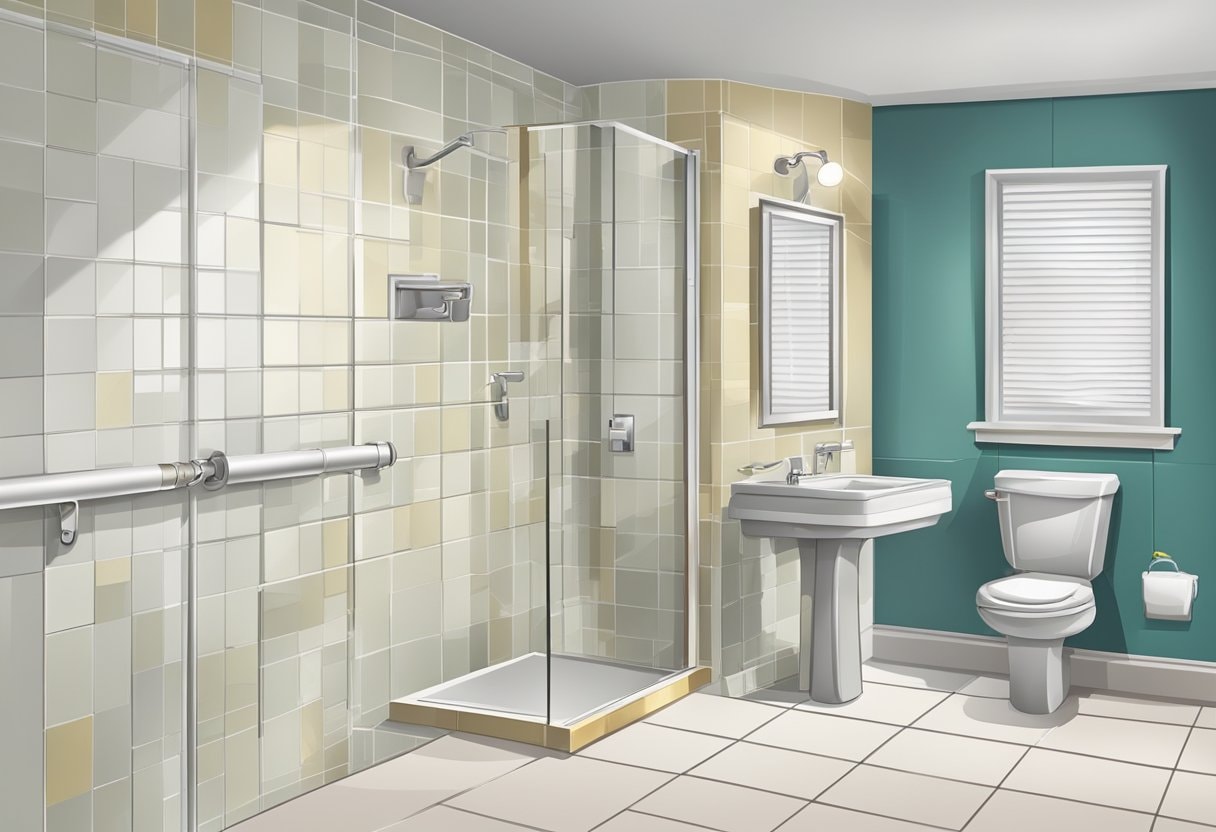
Installing grab bars in the home is essential for enhancing safety, particularly in areas like the bathroom, where slip and fall accidents are common. Understanding how to install grab bars properly is key to ensuring that these essential fixtures provide the stability and support needed for individuals with limited mobility, the elderly, or anyone who requires extra assistance.
Proper installation is critical to ensure they provide the intended support and meet safety standards. It begins with selecting the right type of grab bars that can withstand the forces exerted on them and choosing the correct placement to cater to the user’s needs.
Before installing the grab bars, you must understand the structure of the walls where you will mount them. You should locate the studs to anchor the bars securely, ensuring they can withstand significant weight. It’s also important to determine the best height and position for the user.
Key Takeaways
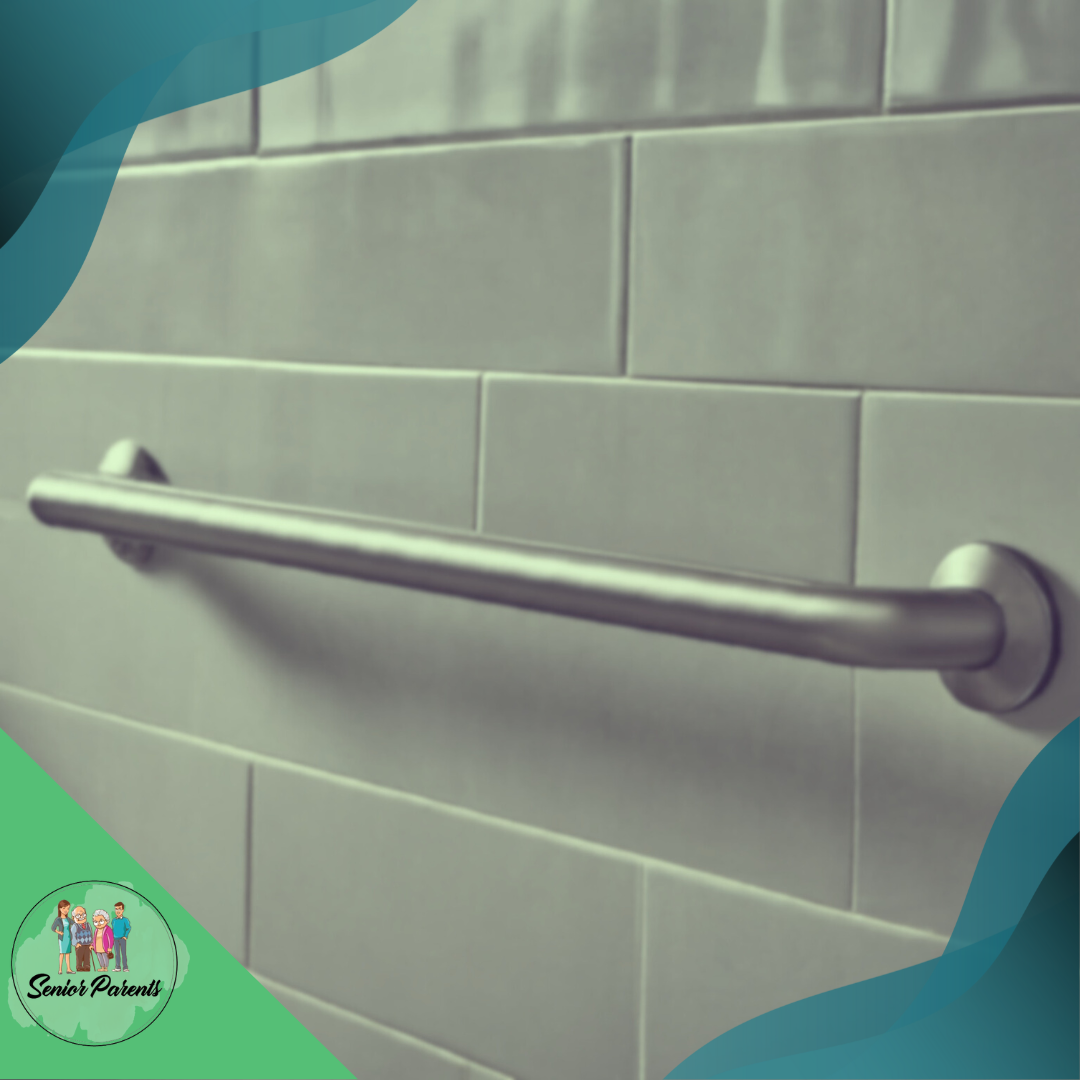
- Choose the right type of grab bar and determine the best placement to ensure it provides the necessary support and stability. Proper selection and positioning are crucial for effectiveness.
- Ensure grab bars are securely anchored to wall studs or appropriate wall anchors. Proper installation into studs is essential for supporting weight safely and preventing potential hazards.
- Install grab bars at a height and angle that is comfortable and accessible for the user. Typically, bars should be mounted 33 to 36 inches from the floor, and angled bars are often recommended for showers.
- Apply silicone sealant around the grab bar flanges to prevent water ingress and ensure durability. Test the stability of the grab bars after installation to confirm they are securely fastened and can support the intended weight.
- Regular inspections are conducted, and the grab bars are cleaned to maintain safety and longevity. Check for any loosening or damage and tighten screws as needed to ensure continued stability and effectiveness.
Understanding Grab Bars
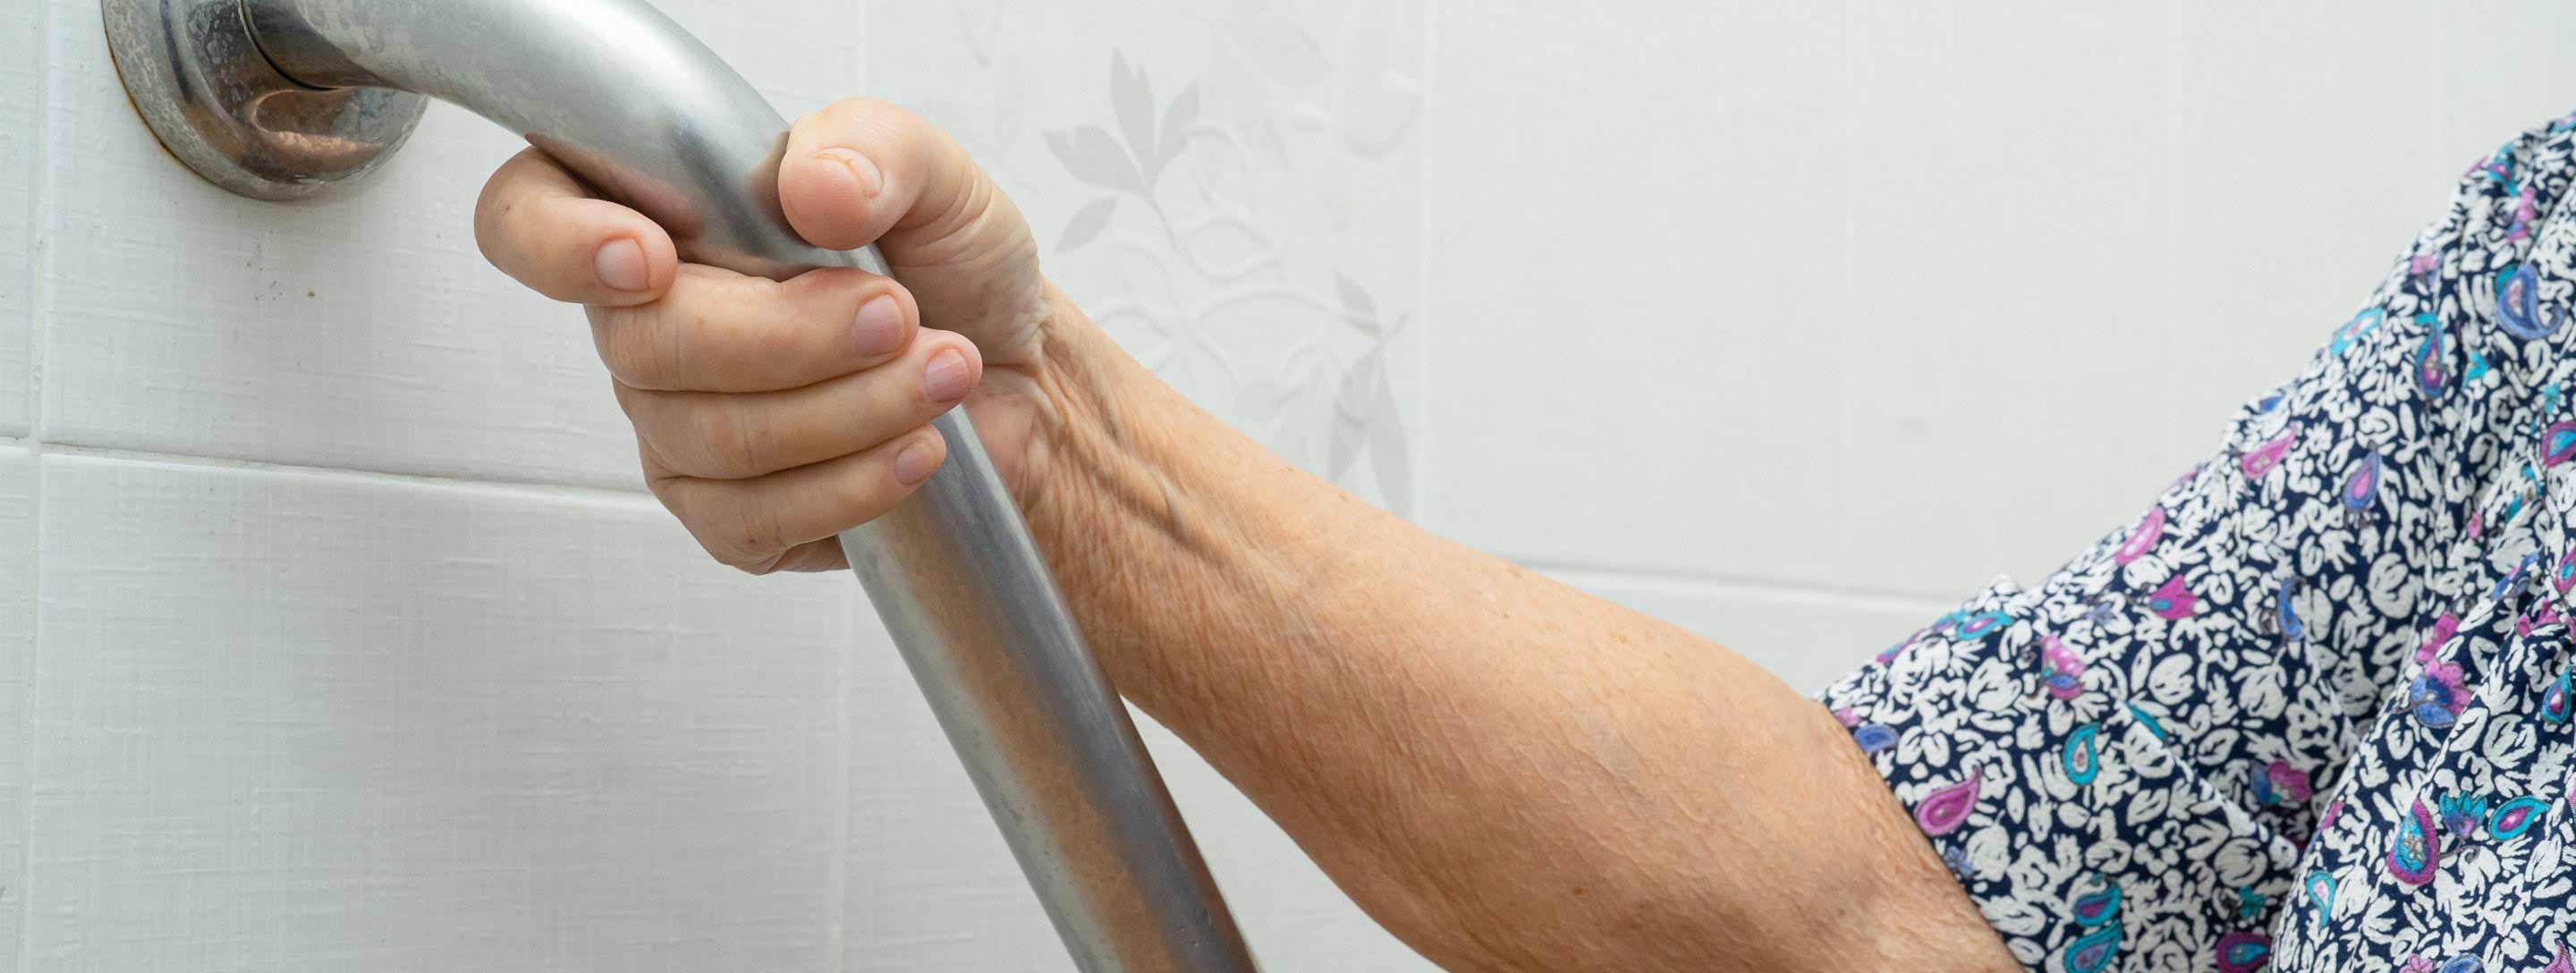
Properly installed grab bars are crucial for ensuring safety in areas like bathrooms prone to wet and slippery conditions. They offer support and stability, helping to prevent falls.
Purpose of Grab Bars
- Preventing Falls: Grab bars are crucial in minimizing the risk of slips and falls, which can lead to severe injuries, particularly among the elderly.
- Providing Support: They offer essential support for safely entering and exiting the bathtub, shower, or toilet.
- Aiding Mobility: Grab bars assist with the transition from a seated to a standing position, enhancing overall mobility and independence.
Types of Grab Bars
There are several types of grab bars, each designed to cater to specific needs and environments:
- Straight Grab Bars: Standard models for providing stability and support.
- Angled Grab Bars: Offer support at various angles and are often used in shower stalls.
- Flip-Up or Swing-Away Grab Bars: Save space as they can be moved out of the way when not in use.
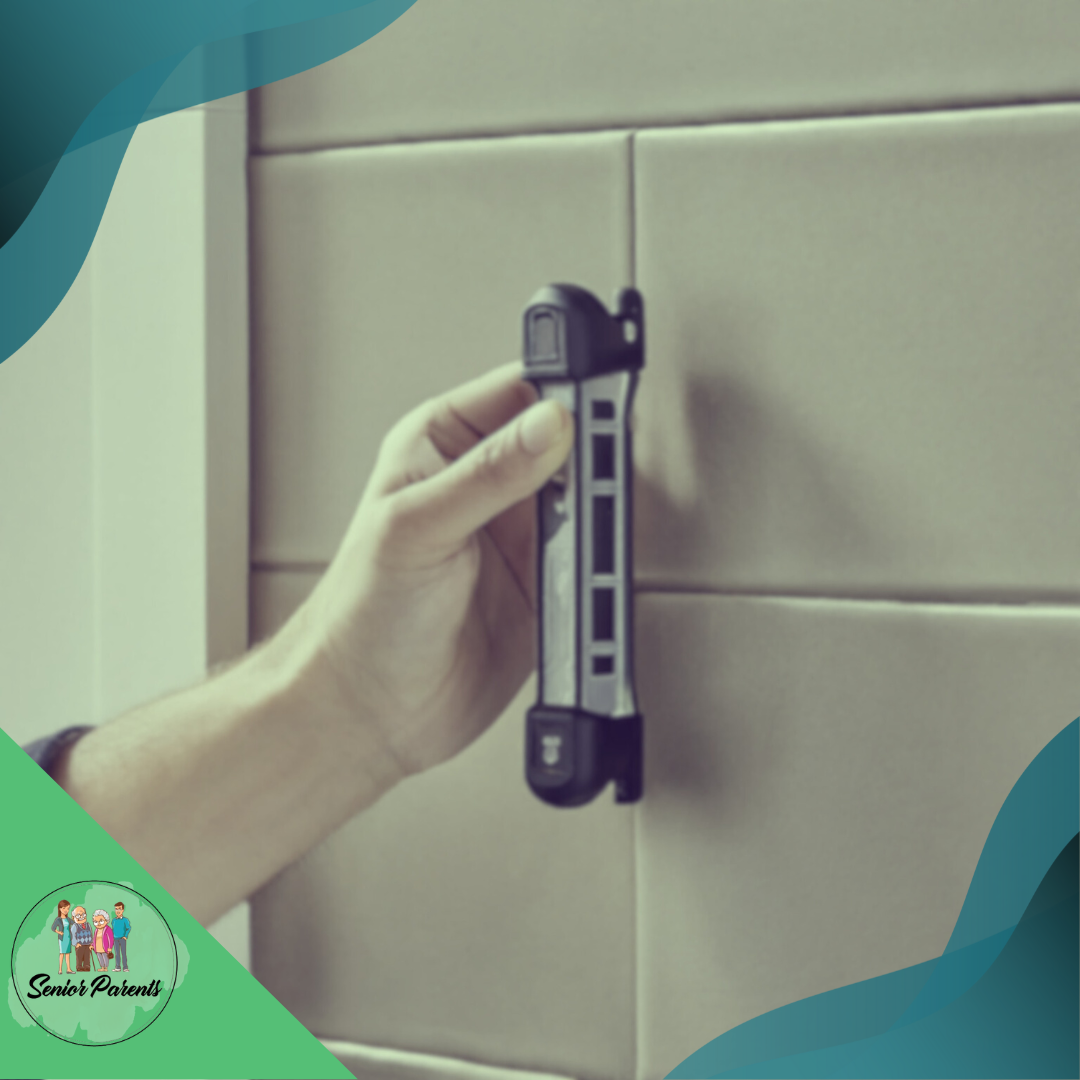
- Suction Cup Grab Bars: Portable and easy to attach without drilling, but not as sturdy as permanently fixed bars.
Safety Standards and Guidelines
When installing grab bars, it is essential to follow the following safety standards:
- ADA Guidelines: The Americans with Disabilities Act provides bar diameter, height, and placement specifications.
- Load-bearing Capacity: Must withstand a minimum of 250 pounds of force, as per most building codes.
- Installation Location: They should be installed where they will be most effective, such as beside the toilet or in the shower.
Required Tools and Materials
The installation of grab bars requires specific tools and materials:
- Tools: Stud finder, Drill with appropriate drill bits, Level, and Screwdriver.
- Materials: Grab bars with the appropriate length and grip surface, Mounting screws (stainless steel or coated for moisture resistance), and Wall anchors (for installations without studs)
Adherence to these details can greatly improve the safety and utility of grab bars in any setting.
Pre-Installation Planning
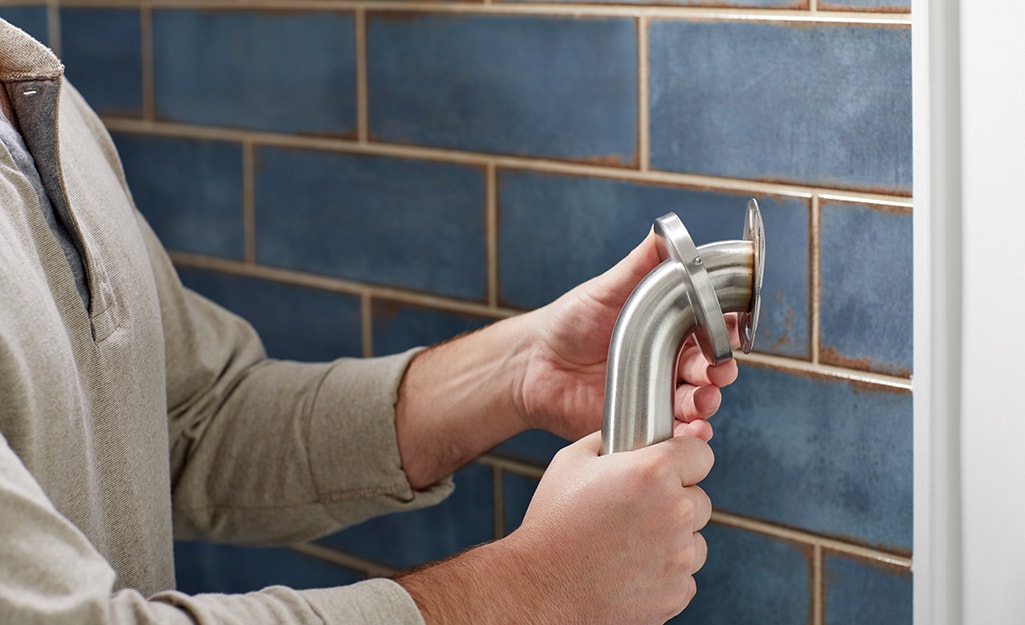
Before installing grab bars, one must ensure proper planning to guarantee safety and usability. Learning how to install grab bars properly involves more than just picking the right spot. The process requires carefully locating wall studs, choosing an appropriate height for the bars, and determining the correct length and angle suited to the individual’s needs.
Locating the Studs
To provide adequate support, securely anchor the grab bars to wall studs, which are typically spaced 16 inches or 24 inches apart. One can use a stud finder to locate these accurately. Mark the locations with a pencil once found.
Choosing the Right Height
Install grab bars at a height that is accessible and comfortable for the user. Generally, it’s advisable to mount them 33 to 36 inches from the floor, especially around the toilet area. Reference user preferences and mobility needs to determine the optimal height for each bar.
Determining Bar Length and Angle
The bar length will depend on the installation area and the user’s hand size. A standard length ranges from 12 inches to 48 inches. As for the angle, diagonal bars are often recommended for showers to accommodate various grips. Remember to check the angle with a level before finalizing the position.
Did You Know?
Grab bars should be oriented vertically and horizontally to allow for various grips depending on the user’s needs. Placement should consider the entry and exit points in the shower or tub area, ensuring easy reach and support throughout movement within the space.
Installation Process
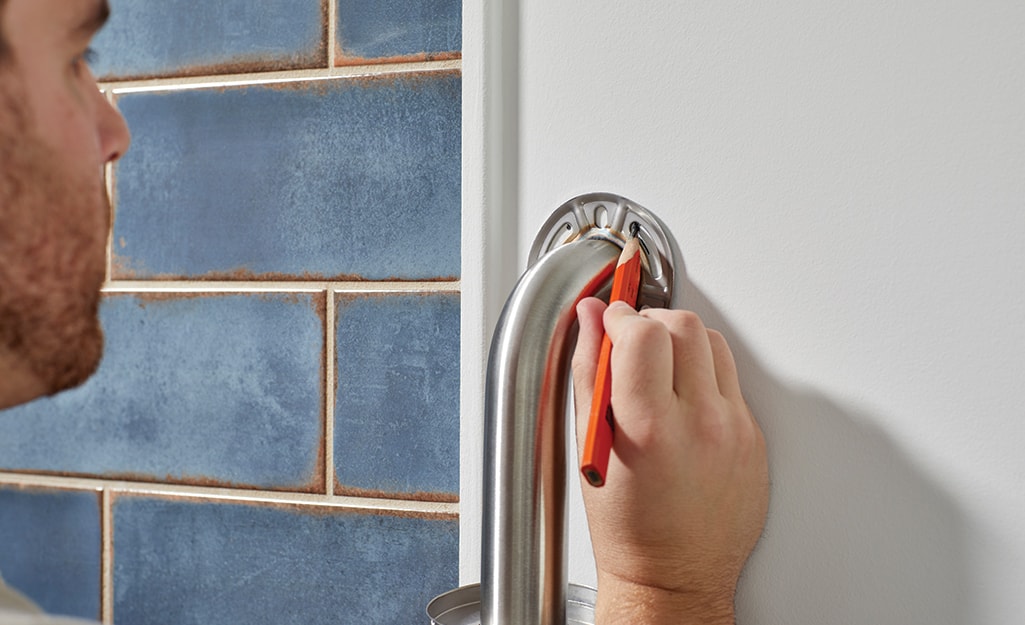
Proper installation of grab bars ensures safety and accessibility in a bathroom. If you’re wondering how to install grab bars properly, this process involves precise wall marking, drilling pilot holes, and securing the grab bars firmly into place.
Marking the Wall
First, locate the studs in the wall where you will mount the grab bar. Use a stud finder for this task. Once you locate the studs, use a level to mark the location on the wall where you will install the grab bars. The marks should represent the drill points for pilot holes and align with the mounting points on the grab bar.
Drilling Pilot Holes
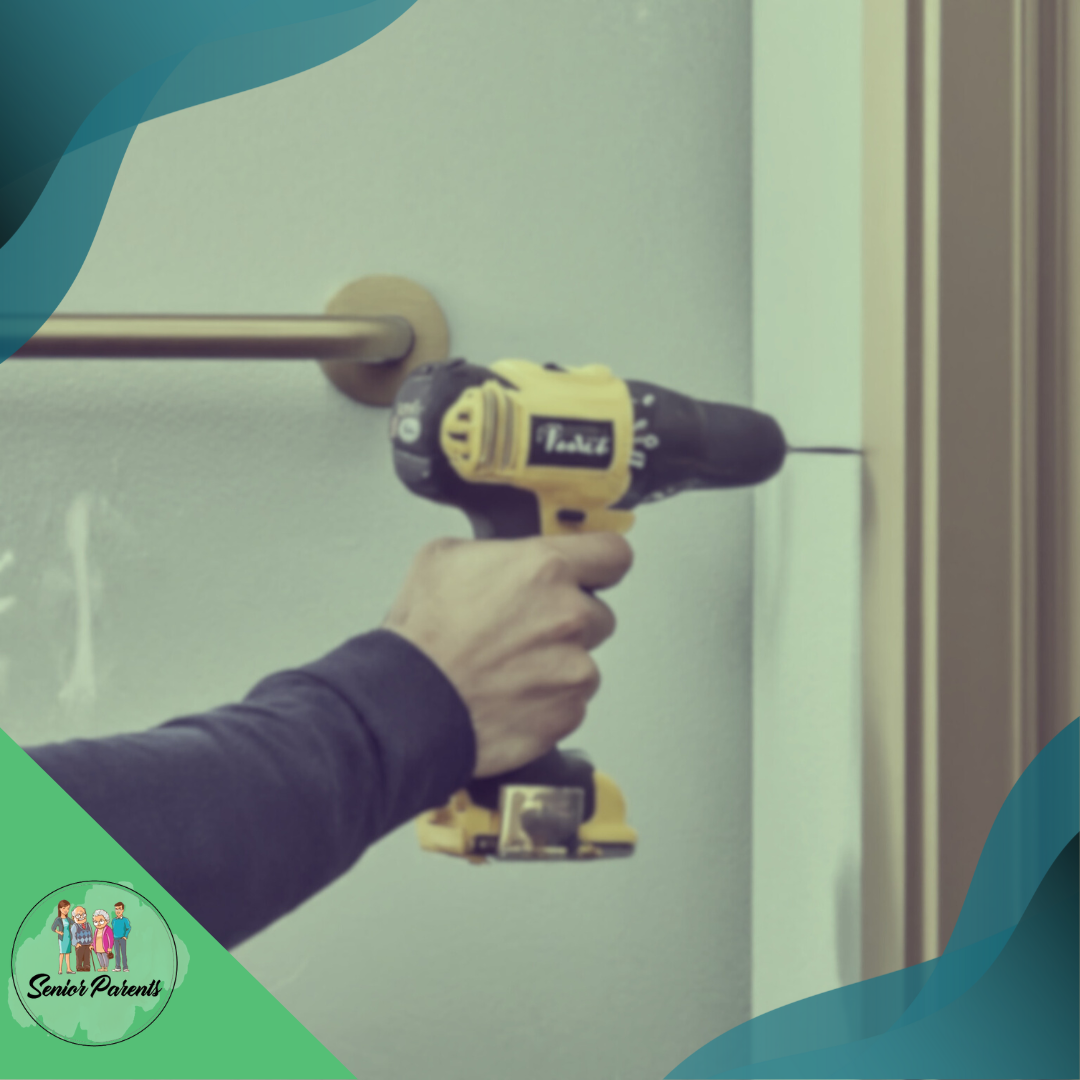
After marking the desired locations, it’s crucial to drill pilot holes. For tiled walls, start with a smaller bit to prevent damaging the tile; use a glass and tile bit for the best results.
Place masking tape on tiled walls before drilling to prevent the drill bit from slipping. Then, switch to the appropriately sized bit for your mounting hardware to complete the pilot holes.
Securing the Grab Bars
Once the pilot holes are ready, align the grab bar with the holes and start by inserting one screw. Then, level the grab bar before you insert the remaining screws. For maximum security, you must fasten grab bars to studs or support them with sturdy anchoring devices when studs are not available. The choice of fasteners is critical; they should be rust-resistant and capable of supporting significant weight.
Here’s an additional video on how to install a grab bar.
By: C.L.S. All-IN-ONE
How to Install Grab Bars Properly: Finishing Touches
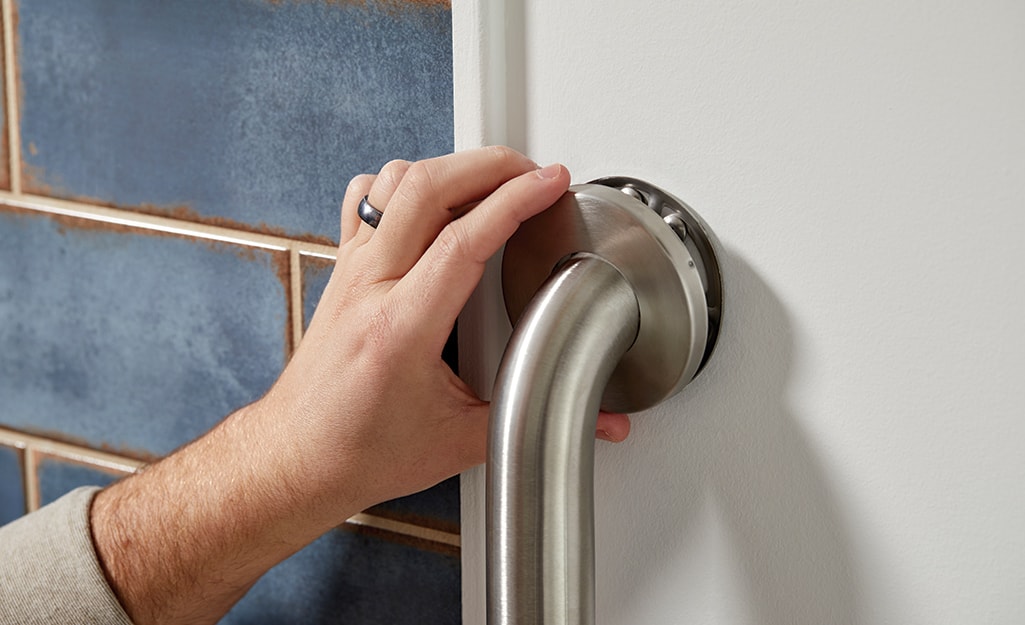
To maintain safety and durability, it is crucial to apply the final touches that ensure waterproofing and check the hardware for stability once you have securely installed the grab bars.
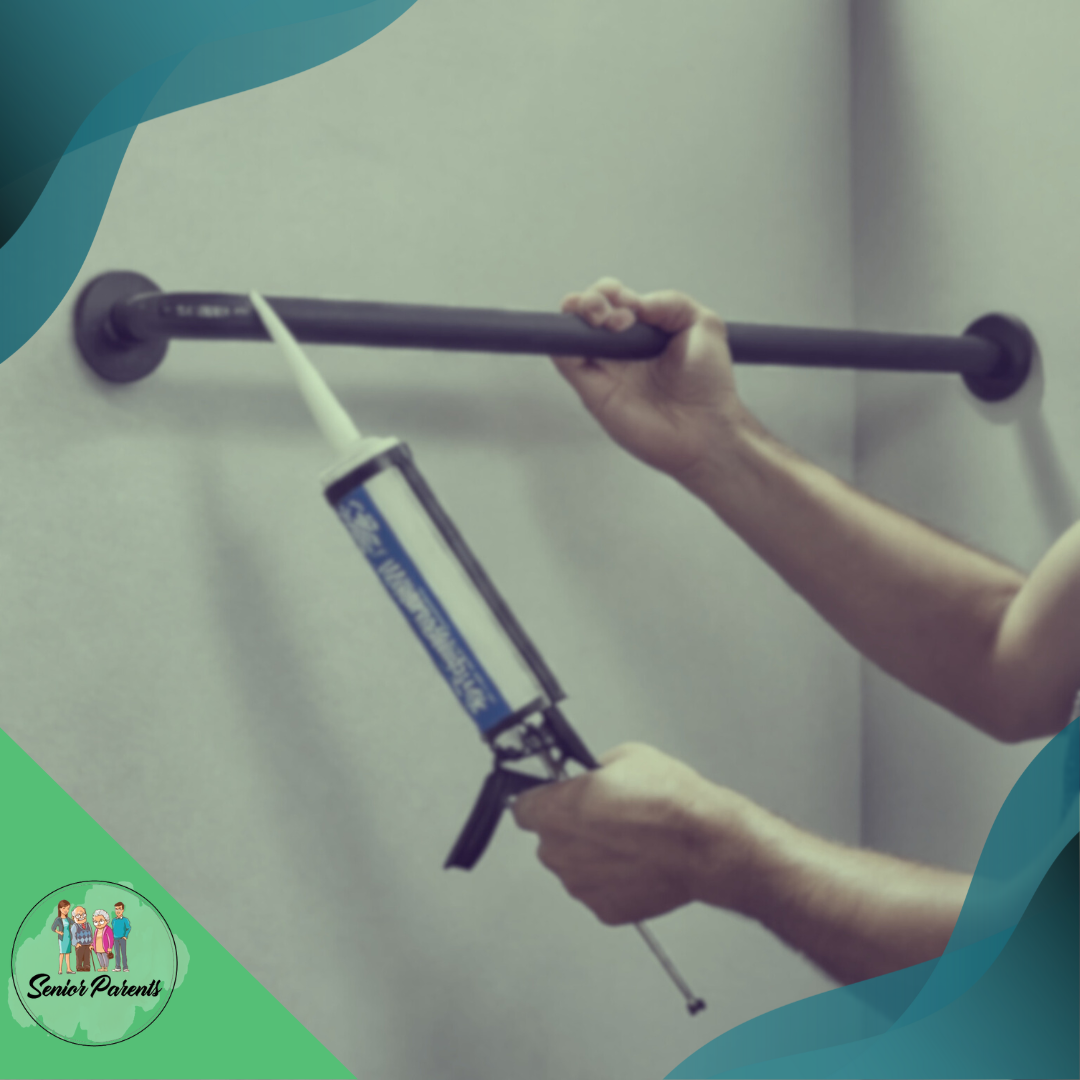
Sealant (Steps)
Materials Needed: Sealant
- Ensure that the area around the grab bar is dry.
- Apply a thin bead of silicone sealant around the edge of each flange.
- Be thorough to prevent water ingress, which can lead to corrosion or mold.
- Smooth the sealant with a wet finger or a sealant tool for a clean finish.
- Allow the sealant to cure per the manufacturer’s instructions, typically 24 hours.
Testing Stability (Steps)
- Inspect the grab bar visually to ensure no gaps between the wall and the grab bar flanges.
- Apply firm pressure to the grab bar in various directions to test its ability to support weight.
- Confirm there is no movement or give; the bar should remain immobile.
- Regularly check the stability of grab bars over time, as repeated use can sometimes cause loosening.
Maintenance Tips
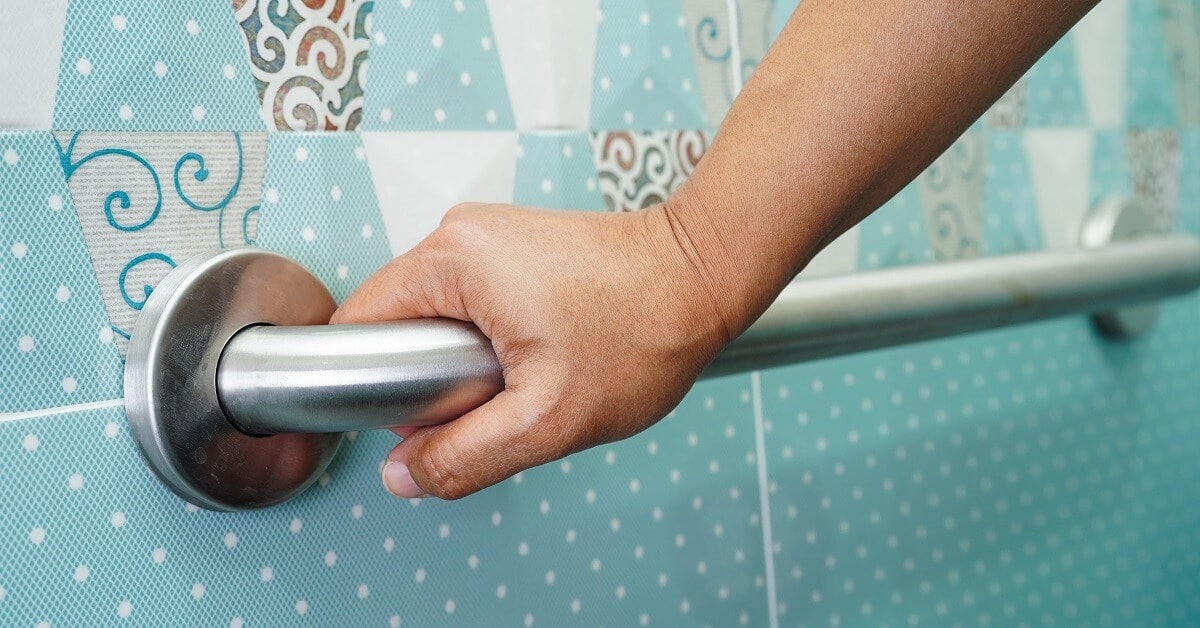
Effective maintenance ensures the longevity and safety of grab bars. Learning how to install grab bars properly is crucial, but adequate inspection and proper cleaning are equally important. These steps are the cornerstones of maintaining these fixtures.
Regular Inspection
One should regularly inspect every few months to ensure the grab bars remain securely attached to the wall. This includes applying pressure to the grab bar to check for any movement or loosening of the screws. Tightening the screws may be necessary to maintain stability.
Cleaning Your Grab Bars
It is important to keep grab bars clean to maintain hygiene and prevent corrosion. One should use warm water and soap to clean the surface gently. Avoid using abrasive cleaners, which can damage the grab bar’s finish. Ensure any stronger cleaner needed suits the grab bar material.
Here’s an additional video on installing a grab bar in a fiberglass shower.
By: The Solid Mount®
Ensuring Safety with Proper Grab Bar Installation
Mastering the art of how to install grab bars properly is essential for creating a safer living environment. With the right installation techniques, grab bars become invaluable aids in preventing falls and providing stability, especially in areas where slips are more likely, such as bathrooms. A well-installed grab bar enhances safety and offers peace of mind for you and your loved ones, particularly for seniors or those with mobility challenges.
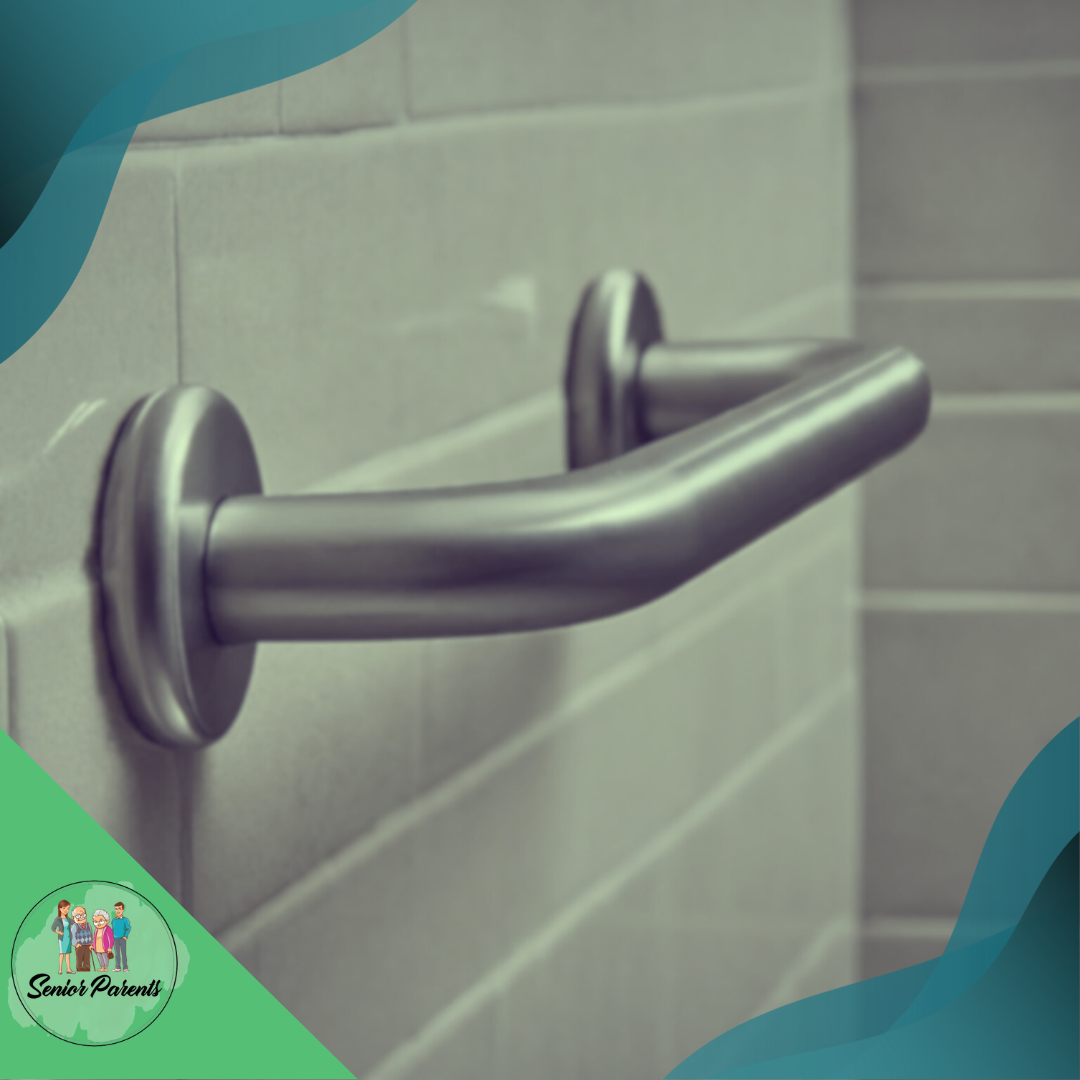
The process involves selecting the appropriate type of grab bar, understanding wall structures, and ensuring secure mounting into wall studs. By following the steps outlined in this guide—from pre-installation planning to the final touches—you ensure that your grab bars are functional and reliable. Regular maintenance, including inspections and cleaning, further supports their effectiveness and longevity.
Incorporating grab bars into your home’s safety features is a proactive step towards reducing the risk of accidents and improving overall accessibility. Whether you’re preparing for aging in place or making your home safer for family members, installing grab bars properly is a small effort with significant benefits. Prioritize safety and confidently enjoy knowing your home is well-equipped to support everyone living there.
Frequently Asked Questions
What Steps Are Required to Install a Grab Bar in a Shower Securely?
To securely install a grab bar in a shower, one must determine the bar placement for optimal support. Then, locate the studs or set up proper wall anchors, drill pilot holes, and fasten the grab bar with screws designed for bathroom moisture and load capacity. Ensuring the bar is level and firmly attached is essential for safety.
Can Grab Bars Be Mounted Safely Without Locating Studs, and if So, How?
You can mount grab bars without studs by using wall anchors specifically designed to support the weight requirements of the bars. These anchors must be compatible with the wall material to create a safe and secure hold.
What Are the Best Practices for Installing Grab Bars in a Bathroom for the Elderly?
To ensure the safety of the elderly, place grab bars near toilets, bathtubs, and showers where support is most needed. Install bars at a comfortable height and angle for the user, ensuring they have slip-resistant surfaces and can support the user’s weight for balance and lifting.
Is There a Specific Method for Attaching Grab Bars to a Fiberglass Shower Enclosure?
When attaching grab bars to fiberglass enclosures, it is important to use mounting hardware compatible with the material to prevent damage. Hollow wall anchors or toggle bolts can be used without wood backing, and the grab bar should span across multiple points for stability.
What's the Correct Way to Affix Grab Bars to a Tiled Shower Wall?
Affixing grab bars to a tiled shower wall requires using a diamond drill bit to prevent cracking and ensure precise holes. Mark the tile where the grab bar will be fixed, drill pilot holes, insert appropriate wall anchors, and mount the grab bar securely to withstand strenuous use.
Stay Connected with Senior Parents!
Ready to embark on a journey of wisdom and care? Follow us on our social media channels and stay updated with heartwarming stories, expert advice, and valuable insights for senior caregiving!
? Website: Explore sr-parents.com for in-depth articles and resources about senior care, health, and well-being.
? Pinterest: Discover a wealth of caregiving ideas, home hacks, and senior-friendly activities at pinterest.com/seniorparents.
? Facebook: Join our supportive community at facebook.com/sr.parents. Engage with fellow caregivers, share experiences, and find inspiration.
? Twitter: Connect with us at twitter.com/senior parents for real-time updates, news, and trending topics related to senior care.
? Instagram: Follow us on instagram.com/seniorparents for uplifting moments, caregiving tips, and a glimpse into the lives of seniors and their families.
Stay informed, inspired, and supported with our latest articles and heartwarming stories about senior care. Join our caregiving community and be part of a network dedicated to providing the best for our beloved seniors. Follow us now and let’s start this rewarding journey together!


